
Ever wondered how tight should a motorbike chain be? It’s a question every rider faces at some point. If it’s too tight, your bike strains like a runner in shoes two sizes too small. Too loose? You risk jerky rides and even a snapped chain.
I remember my first long road trip—wind in my face, engine humming—until a loose chain turned my smooth ride into a nerve-wracking mess. That’s when I learned the hard way: motorcycle chain maintenance isn’t just a chore; it’s essential for safety and performance.
In this guide, I’ll show you exactly how to check, adjust, and maintain your chain tension the right way. Whether you’re a new rider or just need a refresher, you’ll leave with the confidence to keep your bike running smoothly. Let’s dive in!
Table of Contents
Why Motorcycle Chain Tension Matters
Imagine riding down an open road, feeling every shift and turn perfectly in sync with your bike. Now, picture that same ride with a loose chain—sudden jerks, sluggish acceleration, and the unsettling thought that your chain might snap mid-ride. Scary, right?
Chain tension isn’t just about keeping your bike running smoothly; it’s about control, safety, and longevity. An overly tight chain puts unnecessary strain on your sprockets, wears out bearings, and limits suspension movement. On the other hand, a loose chain can slip, reduce power delivery, and—worst case—derail completely. I learned this firsthand when a misaligned chain nearly threw me off balance on a twisty mountain road.
Motorcycle chain maintenance is one of the simplest yet most overlooked aspects of bike care. Checking and adjusting it regularly keeps your ride smooth, your engine efficient, and your wallet happy (because who wants to replace worn-out parts too soon?). Up next, I’ll walk you through the easiest ways to check if your chain is too tight or too loose—no mechanical expertise required!
How to Check If Your Motorbike Chain Is Too Tight or Too Loose
Ever felt your ride wasn’t as smooth as usual? Maybe your bike jerks when you accelerate, or you hear an odd clanking sound near your rear wheel. That’s your chain trying to tell you something—it’s either too tight or too loose.
A properly adjusted chain keeps your bike running smoothly, but how do you check if it’s within the right tension range? Luckily, you don’t need a mechanic for this. A simple motorcycle chain maintenance check can save you from costly repairs or a dangerous ride.
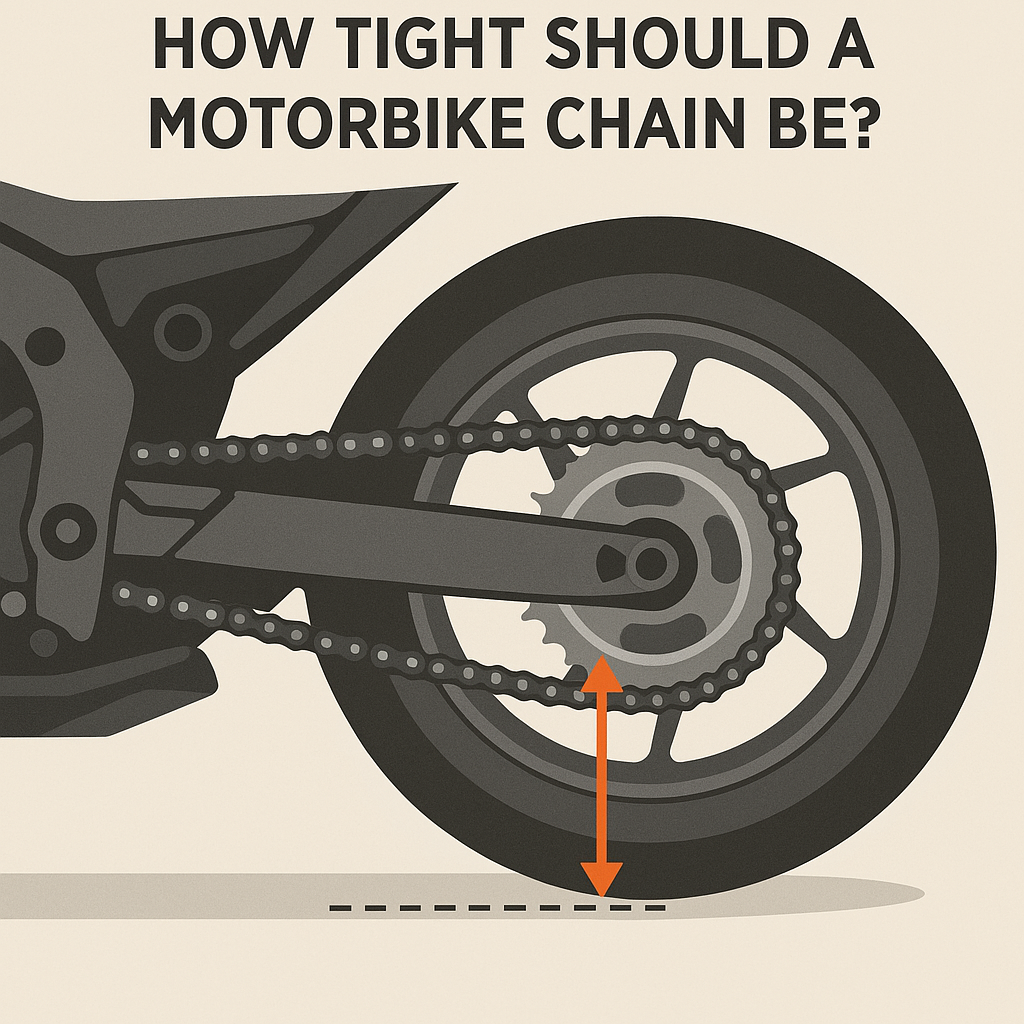
Here’s an easy way to check: Place two fingers under the chain at its loosest point and lift it gently. If it barely moves, it’s too tight. If it swings like a jump rope, it’s too loose. For a more precise measurement, check your bike’s manual for the recommended chain slack—most bikes fall between 25-30mm of vertical movement.
If your chain is outside this range, it’s time for an adjustment. Up next, I’ll walk you through a simple step-by-step guide to get your chain tension just right—no guesswork, no stress.
How Tight Should a Motorbike Chain Be? (Focus Keyword Integration)
Ever felt like your bike just doesn’t respond the way it should? Maybe the throttle feels sluggish, or your ride isn’t as smooth as usual. More often than not, chain tension is the culprit. So, how tight should a motorbike chain be?
The answer depends on your bike model, but generally, most motorcycles require 25-30mm of slack—just enough movement to allow the suspension to do its job without stressing the sprockets. Manufacturers provide exact specifications, so always check your owner’s manual. Riding conditions matter too; off-road riders may need slightly more slack, while street bikes often have a tighter range.
I learned this lesson the hard way when I overtightened my chain before a long ride. The bike felt stiff, and by the end of the day, I had unnecessary wear on my sprockets. That’s when I realized that proper motorcycle chain maintenance isn’t just about preventing issues—it’s about ensuring a smoother, safer ride.
Up next, I’ll walk you through the step-by-step process to adjust your chain tension correctly, so you can keep your bike in peak condition.
How to Adjust Your Motorcycle Chain (Step-by-Step Guide)
Ever heard a strange rattling while riding? That’s your bike’s way of saying, “Hey, check my chain!” A loose or overly tight chain doesn’t just affect performance—it can lead to serious damage. But don’t worry, adjusting your chain is easier than you think. Even if you’re new to motorcycle chain maintenance, you’ll have it sorted in no time.
What You’ll Need
Before getting started, grab these tools:
✔ A wrench set (usually 10mm, 12mm, or 14mm, depending on your bike)
✔ A torque wrench (to avoid overtightening)
✔ A ruler or chain slack tool
✔ Motorcycle stand (optional, but helpful)
Step-by-Step Chain Adjustment
1️⃣ Find Your Slack Range – Check your bike manual for the recommended slack (usually 25-30mm). Use a ruler to measure how much the chain moves up and down at the midpoint between the sprockets.
2️⃣ Loosen the Axle Nut – Using a wrench, loosen the rear axle nut just enough to allow movement. This lets you adjust the tension without forcing the chain.
3️⃣ Adjust the Tension Bolts – On both sides of the swingarm, you’ll see adjustment bolts. Turn them equally (small increments) to either tighten or loosen the chain.
4️⃣ Check the Slack Again – After each small adjustment, check the slack with your fingers or a ruler. Too tight? The chain shouldn’t feel rigid. Too loose? It shouldn’t bounce around freely.
5️⃣ Tighten the Axle Nut – Once the slack is correct, retighten the rear axle nut to the manufacturer’s torque specification.
6️⃣ Spin the Wheel & Test – Rotate the wheel to ensure the chain moves smoothly. Take a short test ride to feel the difference.
Common Mistakes to Avoid
🚫 Overtightening – A stiff chain can wear out your sprockets and even snap.
🚫 Uneven Adjustments – If one side is tighter than the other, your wheel alignment suffers.
🚫 Skipping Lubrication – A dry chain wears faster, so clean and lube it regularly.
Once you get the hang of it, adjusting your chain becomes second nature. Up next, let’s talk about how often you should check and adjust your chain for the best performance.
Watch my tutorial
How tight should a motorbike chain be!
How Often Should You Check and Adjust Chain Tension?
Ever had that nagging feeling that something’s off with your bike, but you can’t quite put your finger on it? More often than not, your motorcycle chain maintenance is to blame. A loose or overly tight chain sneaks up on you—one day, your ride feels smooth, and the next, you hear rattling or feel resistance in acceleration. The key to avoiding this? Regular chain checks and adjustments.
How Often Should You Check Your Chain?
A good rule of thumb is to inspect your chain every 500-700 miles (800-1,100 km) or at least once a month if you’re a casual rider. However, your riding conditions play a huge role:
🏍 Daily Commuting? Check it every two weeks. Stop-and-go traffic and city roads wear the chain faster.
🌲 Off-Road Adventures? Inspect it before and after every ride. Dirt and debris mess with chain tension.
🏁 High-Speed Touring? Long-distance riding puts constant stress on the chain, so check it after every trip.
How Often Should You Adjust Chain Tension?
Checking your chain is one thing—adjusting it is another. Generally, you’ll need to adjust your chain every 1,000-1,500 miles (1,600-2,400 km), but again, this depends on:
✅ Your Bike Model – Different bikes have different slack requirements. Always follow the manufacturer’s guidelines.
✅ Riding Style – Aggressive acceleration or frequent hard braking stretches the chain faster.
✅ Weather & Terrain – Riding in rain, mud, or sand increases wear, meaning more frequent adjustments.
Signs It’s Time for an Adjustment
🚨 Chain looks saggy or has excessive slack.
🚨 You hear unusual clanking or rattling.
🚨 Acceleration feels sluggish, or you lose power transfer.
🚨 Chain skips over the sprockets or feels rough when moving the wheel.
The Bottom Line: Consistency Is Key
Think of motorcycle chain maintenance like checking your tire pressure—it’s a small habit that prevents big problems. If you stay ahead of chain adjustments, your bike will reward you with a smooth, powerful ride every time.
Before you go, let’s tackle some of the most common questions riders have about chain tension—because a well-maintained chain isn’t just about adjustments; it’s about knowing what to look for before trouble starts.
FAQs About Motorcycle Chain Tension
Ever had a question about motorcycle chain maintenance but felt too embarrassed to ask? Don’t worry—you’re not alone! Whether you’re a new rider or a seasoned biker, chain tension can be confusing. Here are the most common questions riders ask (and the answers you actually need).
1. Can a chain be too loose but still rideable?
Technically, yes—but that doesn’t mean you should ride with a loose chain. A chain with excessive slack can slap against the swingarm, skip over sprockets, or even derail completely. If you’ve ever felt your throttle response lag or heard an unsettling rattle from your bike, your chain might be too loose to ride safely.
2. What happens if I overtighten my chain?
Overtightening is just as bad—if not worse—than a loose chain. When a chain is too tight, it puts extra stress on the sprockets, bearings, and transmission. This can lead to premature wear, restricted suspension movement, and even snapped chains. Always follow the recommended slack range in your owner’s manual to avoid damage.
3. How do I know if my chain needs replacement?
Your chain will give you signs when it’s time to go. Here’s what to look for:
🔧 Excessive slack even after repeated adjustments.
🔧 Tight spots (some links are stiff while others are loose).
🔧 Rust or corrosion on the links.
🔧 Sprocket wear (pointed or “shark fin” teeth).
If your chain has any of these issues, it’s time to replace it before it becomes a safety hazard.
4. How do I prevent my chain from wearing out too quickly?
Simple: Regular maintenance. Keep your chain clean, lubricated, and properly tensioned. A dirty, dry chain wears out faster and creates more resistance while riding. Ideally, lubricate your chain every 300-500 miles (500-800 km) or after riding in wet or dirty conditions.
5. Does riding style affect chain tension?
Absolutely! If you ride aggressively, brake hard, or accelerate quickly, your chain will stretch faster. Off-road riding also exposes your chain to dirt and debris, which can wear it out quicker. That’s why frequent motorcycle chain maintenance is crucial for both street and dirt riders.
Final Thought: Stay Ahead of Chain Issues
A well-maintained chain means a smoother ride, better performance, and fewer expensive repairs. If you’re ever unsure about your chain’s condition, check it sooner rather than later. A quick adjustment or replacement can save you from costly damage—or worse, a dangerous breakdown mid-ride.
Now that you’ve got your FAQs covered, let’s wrap things up with some final tips to keep your chain in top shape.
Conclusion & Final Tips
If there’s one thing you take away from this guide, it’s this: your motorcycle chain is a small part that makes a big difference. Keeping it properly tensioned isn’t just about performance—it’s about safety, longevity, and ensuring a smooth, worry-free ride.
Think of your chain like the heartbeat of your bike. When it’s in perfect rhythm, everything feels effortless. But if it’s too tight or too loose, things can go downhill fast. That’s why regular motorcycle chain maintenance should be second nature, just like checking your tire pressure or oil levels.
Final Tips for a Trouble-Free Ride
✅ Check your chain slack regularly—at least once a week or every 500 miles (800 km).
✅ Stick to your bike’s recommended tension range—don’t guess or go by feel alone.
✅ Clean and lubricate your chain often to prevent wear and extend its lifespan.
✅ Watch for signs of wear like rust, tight spots, or excessive slack, and replace your chain when needed.
Riding should feel smooth, controlled, and responsive. If your bike feels jerky, sluggish, or unstable, your chain might be trying to tell you something. Take a few minutes to inspect it—it could save you from costly repairs or even a dangerous accident.
Your Next Step? Check Your Chain Now!
Don’t wait for problems to creep up. Go ahead—take a quick look at your chain right now. Does it have the right amount of slack? Is it clean and well-lubricated? If not, now’s the perfect time to adjust it. Your future self (and your bike) will thank you.
For exact chain tension specifications, always refer to your manufacturer’s manual. Every bike is a little different, and getting the tension just right is key to a safer, smoother ride.
Ride safe, and keep your chain in check! 🏍️💨