
Ever had your bike suddenly sputter and stall, only to find out it’s a fuel flow issue? If you own a 1998 Honda VTR, chances are, the pitcock (fuel petcock) might be the culprit. This small but mighty valve controls fuel delivery to the engine, and when it fails, you’re left with a frustrating ride—or worse, no ride at all. I’ve been there, struggling with inconsistent fuel flow and a bike that just wouldn’t cooperate. That’s why in this guide, I’ll show you exactly how to install a pitcock on a 1998 Honda VTR motorcycle, step by step. We’ll also cover how to change a pitcock and the location of the fuel bladder valve, so you have everything you need to get back on the road smoothly. Let’s dive in!
Table of Contents
Tools and Materials Needed
Before we dive into how to install a pitcock on a 1998 Honda VTR motorcycle, let’s talk about the tools you’ll need. Trust me, nothing’s worse than being mid-repair and realizing you’re missing a key tool—it’s like trying to grill a steak without a fire. Been there, done that.
To make this job smooth, grab a wrench set, screwdrivers, fuel-safe gloves, and some clean rags. You’ll also want a drain pan to catch excess fuel and a well-ventilated workspace—because inhaling gas fumes? Not fun.
Safety first: always work away from open flames and wear gloves when handling fuel. A little prep now can save you a huge headache later. Got your tools ready? Great. Now, let’s find the pitcock and the location of the fuel bladder valve so we can get started.
Finding the Pitcock and Fuel Bladder Valve
If you’ve ever spent way too much time poking around your bike, wondering, Where the heck is this thing?, you’re not alone. Before we dive into how to install a pitcock on a 1998 Honda VTR motorcycle, you need to know exactly where it is—along with the fuel bladder valve, which plays a key role in your bike’s fuel system.
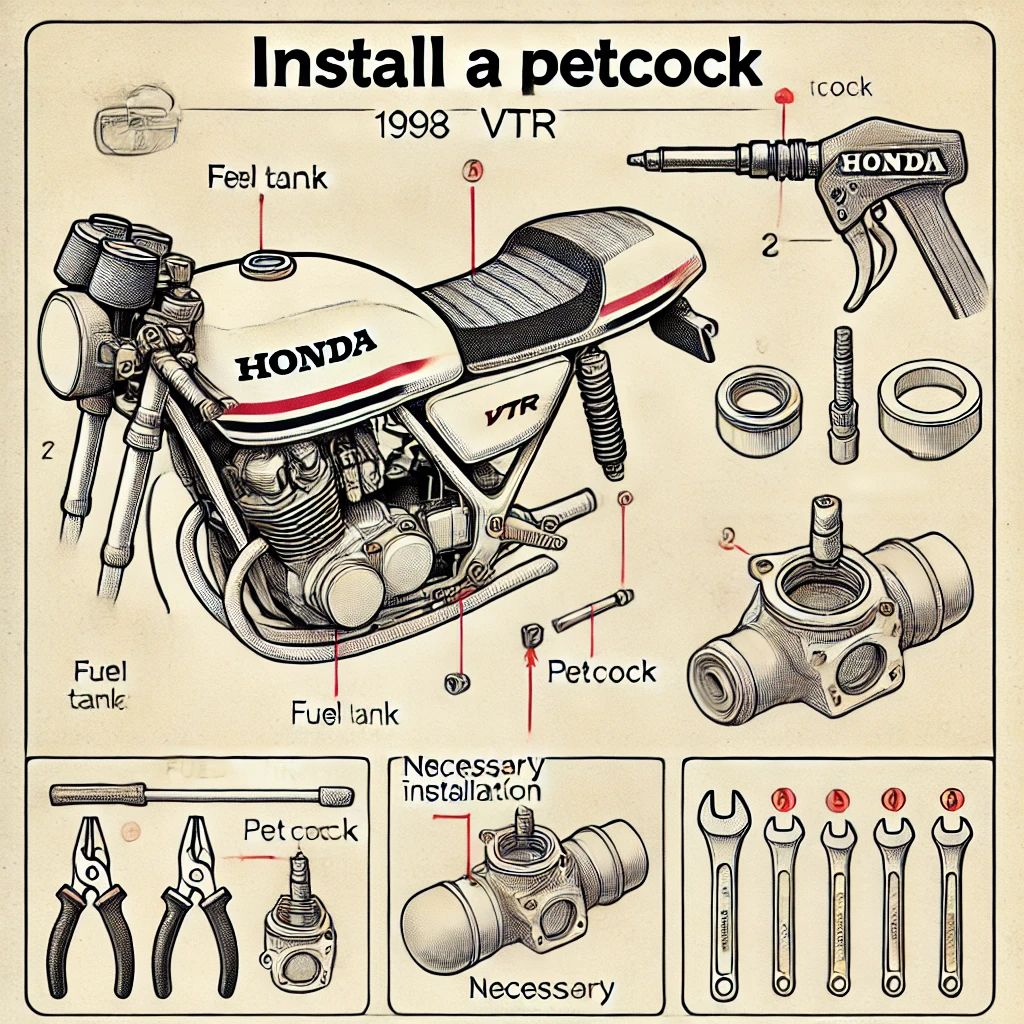
The pitcock sits under the fuel tank, usually on the left side, connected to the fuel lines. It controls the flow of gas from the tank to the engine, which is why a bad one can leave you stranded. As for the location of the fuel bladder valve on a 1998 Honda VTR motorcycle, you’ll find it inside the fuel tank, regulating pressure to keep fuel delivery smooth.
A quick tip: if you’re struggling to spot the pitcock, follow the fuel lines from the carburetor—they’ll lead you straight to it. Now that you know where everything is, let’s move on to removing the old pitcock so we can get your bike running like new again.
How to Remove the Old Pitcock
Removing an old pitcock can feel like wrestling with a stubborn jar lid—frustrating, messy, and just when you think you’ve got it, fuel starts dripping everywhere. But don’t worry, I’ve been there, and with the right steps, you’ll have it off in no time.
Step 1: Drain the Fuel Tank
First things first—safety. You don’t want fuel spilling everywhere, so place a drain pan under the tank. Turn the pitcock to the “OFF” position, then disconnect the fuel line and let the remaining gas drain out. A little patience here prevents a big cleanup later.
Step 2: Disconnect the Fuel Lines
Once the tank is empty, it’s time to remove the fuel lines. If they feel stuck, gently twist them to loosen any grip. Be careful—forcing them off can lead to cracks, and a cracked fuel line is a one-way ticket to leaks and headaches.
Step 3: Unscrew and Remove the Pitcock
Now, grab your wrench and remove the bolts holding the pitcock in place. It might take a little effort, especially if it’s been sitting there for years. If it’s stubborn, a light tap can help loosen it. Once removed, check for any leftover gasket material on the tank—cleaning this off will ensure a smooth installation for the new one.
With the old pitcock out, you’re ready for the next step: how to install a pitcock on a 1998 Honda VTR motorcycle. Let’s get that new one in and get you back on the road!
How to Install a Pitcock on a 1998 Honda VTR Motorcycle
Ever felt that mix of excitement and nervousness when putting a new part on your bike? That’s exactly how I felt the first time I had to replace a pitcock. It’s a small but essential piece of the fuel system, and installing it the right way makes all the difference between smooth rides and frustrating breakdowns.
Step 1: Position the New Pitcock
Before you start, make sure your new pitcock matches the old one. Hold it up to the mounting area and check the alignment. The fuel outlet should face the right direction, making it easy to connect the fuel lines without kinks or stress points.
Step 2: Secure It in Place
Using the correct screws, carefully attach the pitcock to the fuel tank. Tighten them evenly—too loose, and you risk leaks; too tight, and you might strip the threads. Think of it like snugging down a bolt on a car tire—you want it firm but not overdone.
Step 3: Reconnect the Fuel Lines
Now, reconnect the fuel lines, ensuring each one fits securely over its designated nipple. If they feel loose, use small hose clamps for extra security. A fuel leak here could mean trouble, so double-check your work before moving on.
Step 4: Refill the Tank and Check for Leaks
Slowly add fuel back into the tank, then switch the pitcock to the “ON” position. Watch closely for any leaks around the seals or fuel lines. If everything stays dry, you’re good to go! If you spot any drips, tighten the connections and check the gaskets.
With the new pitcock installed, you’re one step closer to a smooth-running 1998 Honda VTR motorcycle. Next, let’s make sure everything is working perfectly by testing the fuel flow and checking for potential issues.
Testing the New Pitcock
You’ve got the new pitcock installed, the fuel lines secured, and the tank refilled. Now comes the moment of truth—testing the fuel flow to make sure everything runs smoothly. There’s nothing worse than thinking you’re done, only to find out there’s a leak or the bike isn’t getting fuel properly. Let’s take it step by step.
Step 1: Check for Leaks
Before you start the engine, do a visual inspection around the pitcock, fuel lines, and fuel bladder valve. If you see drips or wet spots, shut everything off and tighten the connections. A small leak now can turn into a big headache later.
Step 2: Turn on the Fuel and Observe
Switch the pitcock to the “ON” position and listen carefully. You should hear fuel flowing through the lines—a faint gurgle or hiss is normal. If nothing happens, double-check that the fuel bladder valve isn’t clogged or restricting flow.
Step 3: Start the Engine
Fire up your 1998 Honda VTR motorcycle and let it idle. A steady, smooth idle means fuel is reaching the carburetor properly. If the engine sputters or stalls, there might be a blockage or air trapped in the lines. In that case, switch the pitcock to “RES” (Reserve) and see if that makes a difference.
Step 4: Test Under Load
Take your bike for a short ride to test the fuel system under real conditions. Open the throttle and see if the power delivery feels normal. If you experience hesitation or stalling, the pitcock installation might need fine-tuning.
Getting this right ensures reliable fuel delivery and smooth riding, so take your time and trust your instincts. If you run into issues, don’t worry—I’ve got you covered in the next section with common mistakes and troubleshooting tips.
Watch my tutorial
In this video, we’ll guide you through:
Common Mistakes and Troubleshooting
So, you’ve tackled how to install a pitcock on a 1998 Honda VTR motorcycle, but now you’re facing some unexpected issues. Don’t worry—it happens to the best of us. Even a small mistake can cause fuel leaks, poor flow, or a stubborn engine that won’t start. Let’s go over the most common installation problems and how to fix them.
1. Fuel Leaks Around the Pitcock
Nothing kills confidence faster than spotting fuel dripping from your newly installed pitcock. This usually means:
- The gasket isn’t seated properly—double-check its position.
- The mounting screws are either too loose or overtightened, which can warp the seal.
- The fuel lines aren’t fully secured, so make sure the clamps are tight.
💡 Quick Fix: Tighten everything evenly, making sure not to crush the gasket. If the leak persists, consider replacing it with a fresh one.
2. No Fuel Flow to the Carburetor
You turn the pitcock to ON, but nothing happens. No fuel, no start. This can be caused by:
- A clogged fuel bladder valve, which can block the flow.
- Kinked or pinched fuel lines disrupting fuel delivery.
- The pitcock being installed backward, restricting proper flow.
💡 Quick Fix: Double-check the location of the fuel bladder valve on your 1998 Honda VTR motorcycle to ensure it’s functioning correctly. Inspect fuel lines for bends and confirm the pitcock is in the correct orientation.
3. Engine Hesitation or Sputtering
Your bike starts, but it hesitates or stalls at higher speeds. This is often due to:
- A partially clogged fuel bladder valve reducing fuel supply.
- Air trapped in the fuel lines from improper installation.
- An old fuel filter that’s overdue for replacement.
💡 Quick Fix: Try switching the pitcock to RES (Reserve) to see if the issue improves. If so, your main fuel passage may be restricted. Also, bleed out air by letting the fuel flow for a few seconds before starting the bike.
4. Pitcock Won’t Switch Positions Smoothly
A stiff or stuck pitcock selector can make it hard to switch between ON, OFF, and RES. This often happens when:
- The internal rubber diaphragm is dry or cracked.
- The pitcock was overtightened during installation.
- Old fuel deposits are gumming up the mechanism.
💡 Quick Fix: Remove the pitcock and inspect the diaphragm. If it’s stiff or brittle, replacing it can restore smooth operation.
Final Thoughts
Mistakes happen, but troubleshooting is just part of the ride. With a little patience, you’ll have your 1998 Honda VTR running smoothly again. If problems persist, it might be time to inspect other components—like the fuel bladder valve—to ensure everything is working as it should.
Now that your pitcock is properly installed and tested, let’s talk about maintenance tips to keep it in top shape. 🚀
Final Thoughts and Maintenance Tips
There’s something deeply satisfying about finishing a job right. You’ve learned how to install a pitcock on a 1998 Honda VTR motorcycle, tested it, and even tackled some troubleshooting. But here’s the thing—your fuel system isn’t a “set it and forget it” kind of deal. Like any well-oiled machine, it needs regular checkups to keep running smoothly.
Keep an Eye on Your Pitcock
A faulty pitcock doesn’t always fail overnight. Over time, fuel residue, dirt, and wear can affect performance. To stay ahead of problems, inspect it every few months for:
- Leaks around the base or fuel lines.
- Stiffness or difficulty switching positions (ON, OFF, RES).
- Restricted fuel flow, which might feel like hesitation when accelerating.
If you spot these issues, don’t wait—address them before you’re left stranded on the side of the road.
Don’t Ignore the Fuel Bladder Valve
Since the location of the fuel bladder valve on a 1998 Honda VTR motorcycle is near the fuel system, it plays a key role in proper fuel flow. If you ever experience inconsistent fuel delivery, checking this valve is just as important as inspecting the pitcock. A faulty valve can mimic pitcock issues, so be sure to clean and replace it when necessary.
When to Replace the Pitcock Again
A good rule of thumb? If your pitcock is over five years old, it’s time to think about replacing it—especially if you notice fuel starvation or leaks. The diaphragm inside can harden over time, affecting performance. If you’re already experiencing issues, replacing it sooner will save you headaches down the road.
The Bottom Line
Taking care of your Honda VTR’s fuel system means avoiding breakdowns, improving fuel efficiency, and extending your bike’s lifespan. With routine maintenance and quick fixes, you’ll spend less time worrying about your pitcock and more time enjoying the ride.
And hey—next time you’re in the garage, why not give your fuel lines and bladder valve a quick once-over? Your future self will thank you.